For the playable tutorial and opening controls, start with the Beginner Guide.
Stand Out storyline chapters 2–7 — Rohan’s villa
Start at IKO IKO for Meryl’s briefing and the Phone, then head to Rohan’s villa. The bookshelf screenshot is a landmark for the vault. Check the other mechanisms in Meryl’s briefing and crouch near the cameras.
| Chapter | What to do |
|---|---|
| Chapter 2 — Meet Meryl at IKO IKO | Accept Meryl’s Rohan villa job briefing at IKO IKO. She gives you the Phone during this conversation. |
| Chapter 3 — Reach Rohan’s villa | Go to the villa. Check levers, protruding books, movable shelves, crooked pictures and loose wall panels while crouching near cameras. |
| Chapter 4 — Find the hidden vault | Locate and open the hidden vault. The source screenshot shows shelves beside a lamp as a landmark.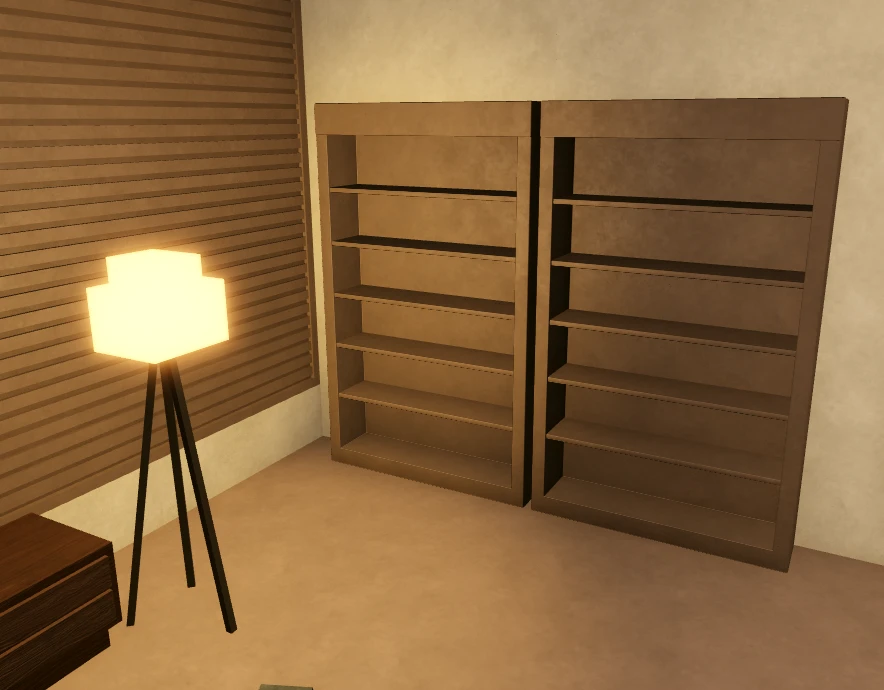 |
| Chapter 5 — Escape with the diamond | Leave the villa with the diamond and Lava Rock. The chapter lists a Blue Diamond and Lava Rock on completion. |
| Chapter 6 — Leave the villa grounds | Get off Rohan’s property to clear the separate grounds objective. |
| Chapter 7 — Defeat the wild cats | Defeat all three Cat Size Cats. |

Chapters 8–19 — Diamotch and the watch
Go to Diamotch for the Lava Rock test. Chapter 13 lists the Silver Watch reward. At the later handoff, Meryl’s dialogue calls it the Diamond Watch, so the handoff below uses “watch.”
| Chapter | What to do |
|---|---|
| Chapter 8 — Plan the Lava Rock test | Talk to Jodio about using the Lava Rock on a luxury watch at Diamotch. |
| Chapter 9 — Enter Diamotch | Ask the clerk to see a luxury watch and follow the clerk to the private room. |
| Chapter 10 — Sit for the watch showing | Take a seat for the private watch showing and look over the watches. |
| Chapter 11 — Answer the guard | Respond to the guard about the watch disappearing during the viewing.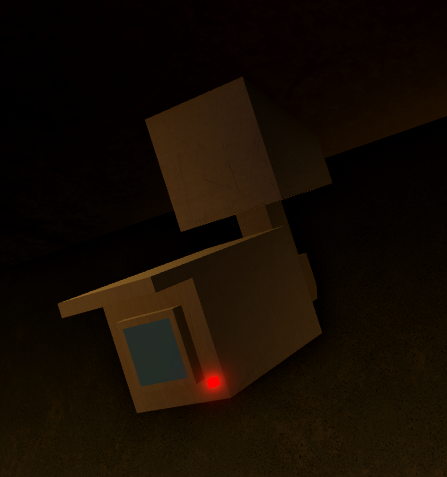 |
| Chapter 12 — Defeat store security | Defeat two Diamotch security guards. |
| Chapter 13 — Pick up the returned watch | Collect the watch that returned. The chapter lists a Silver Watch on completion.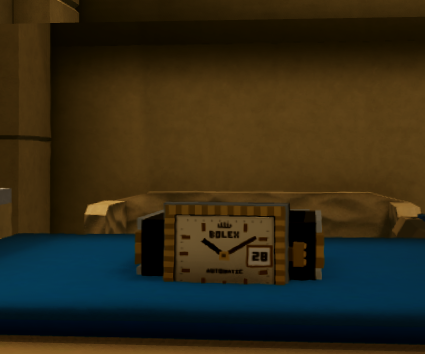 |
| Chapter 14 — Hear the clerk’s apology | Talk to the clerk again after the watch is found. |
| Chapter 15 — Report the returned watch | Tell Jodio the watch returned. He points you to food on a nearby tire. |
| Chapter 16 — Open Jodio’s food bag | Interact with the food bag Jodio left. |
| Chapter 17 — Defeat Charming Man | Defeat Charming Man. Then bring him and the stolen items back to IKO IKO.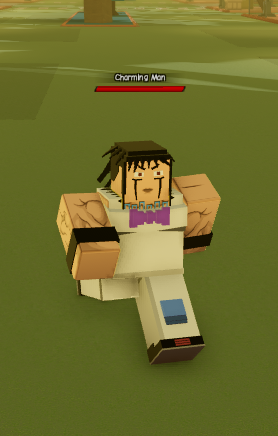 |
| Chapter 18 — Return to IKO IKO | Head back to IKO IKO after the ambush. |
| Chapter 19 — Give Meryl the diamond and watch | Hand over the diamond and watch and report what Charming Man said about Hualalai and HOWLER. |


Chapters 19.5–24 — Land Registry
After the gardening story insert, head to the Land Registry for the original HOWLER deeds. The developer card names chapter 19.5 and includes an image, with no objective text.
| Chapter | What to do |
|---|---|
| Chapter 19.5 — The Good Stuff: Grow | The named gardening insert appears between chapters 19 and 20. Big Chop’s planting guide gives related setup and harvesting steps. |
| Chapter 20 — Reach the Land Registry | Go to the land registry office to get the HOWLER records touched by the Lava Rock. |
| Chapter 21 — Request the HOWLER deeds | Ask the land registry clerk for the original HOWLER deeds and wait for the clerk to bring them out. |
| Chapter 22 — Touch the deeds | Use the Lava Rock on the deeds. |
| Chapter 23 — Exit the registry | Walk out of the registry after touching the deeds. |
| Chapter 24 — Report the deeds to Jodio | Tell Jodio the HOWLER deeds have been touched. |

Chapters 25–34 — Hospital and ICU
Take Usagi to the ICU. File against HOWLER using White’s tablet before moving to the MRI. After the extraction and the Bobby Jean fight, check Yokohama’s documents before you leave.
| Chapter | What to do |
|---|---|
| Chapter 25 — Plan the hospital trip | Talk to Jodio about Usagi’s injury and the plan to reach the hospital ICU. |
| Chapter 26 — Pick up Usagi | Carry Usagi for the hospital trip. |
| Chapter 27 — Reach the hospital entrance | Bring Usagi to the hospital entrance. |
| Chapter 28 — Use Congressman White’s tablet | Use White’s ICU tablet for the HOWLER land filing. The briefing assigns Dragona the filing with White’s fingerprint.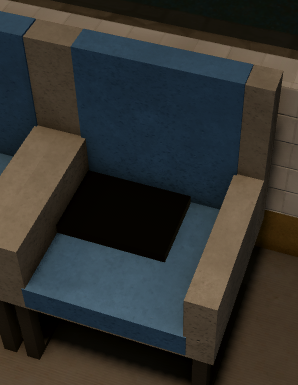 |
| Chapter 29 — Find the MRI room | Reach the MRI room after the filing goes through. |
| Chapter 30 — Scan Usagi | Run the MRI scan on Usagi.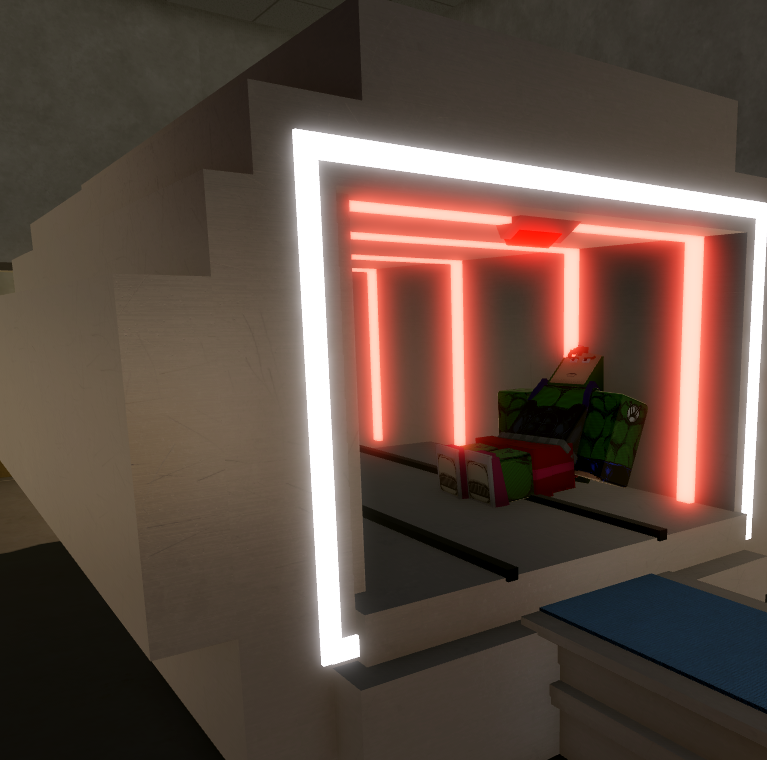 |
| Chapter 31 — Extract Bags’ Groove | Extract five Bags’ Groove units. |
| Chapter 32 — Defeat Bobby Jean | Defeat Bobby Jean in the hospital and watch for Glory Days gunfire. |
| Chapter 33 — Inspect Yokohama’s documents | Inspect Yokohama’s documents before leaving the hospital. They point to HOWLER’s debt.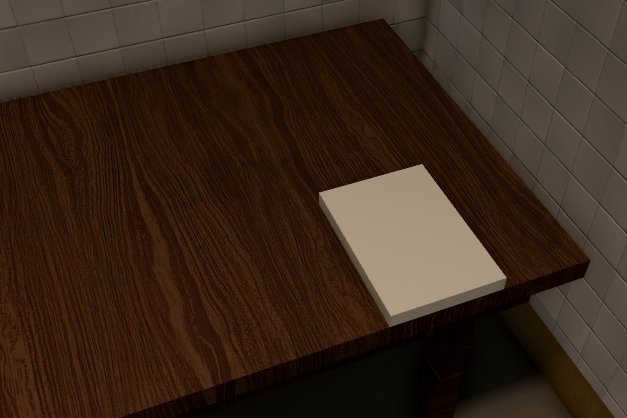 |
| Chapter 34 — Show Meryl the documents | Return to IKO IKO and give Meryl the documents to advance the operation. |


Chapters 34.5–36 — Before the yacht
D’Arby’s Wager is a named story insert with an image and no objective text on its developer card. The October 21 developer update says the first D’Arby storage slot unlocks through a minigame during the storyline.
| Chapter | What to do |
|---|---|
| Chapter 34.5 — D’Arby’s Wager | D’Arby’s Wager follows the documents handoff. The storage guide covers the first-slot minigame mentioned in the October 21 update. |
| Chapter 35 — Complete five side activities | Complete five activities from the listed bounties, eliminations or side quests. See the bounties and eliminations guide for the phone menus and the separate Chapter 35.5 objective. |
| Chapter 35.5 — Complete one elimination | Complete the elimination shown as its own chapter objective. |
| Chapter 36 — Review the debt plan | Review the debt with Meryl before the yacht operation. |
Chapters 37–48 — Megayacht finale
Start with the crew ID checks. After the office detour and regroup at IKO IKO, return to the yacht to speak with Howler. For the Mysterious Arrow listed in chapters 38 and 43, see the Stand Arrow guide.
| Chapter | What to do |
|---|---|
| Chapter 37 — Board the megayacht | Approve three crew IDs and wait for Jodio and the crew to board. |
| Chapter 38 — Present the packet | Complete both packet presentation checks. The chapter lists one Mysterious Arrow on completion. |
| Chapter 39 — Read the textbook reference | Complete the three Queen reference checks, then follow the lead to Meryl’s office. |
| Chapter 40 — Inspect the office clue | Interact with the bloodstain at the office, then return to the crew at IKO IKO.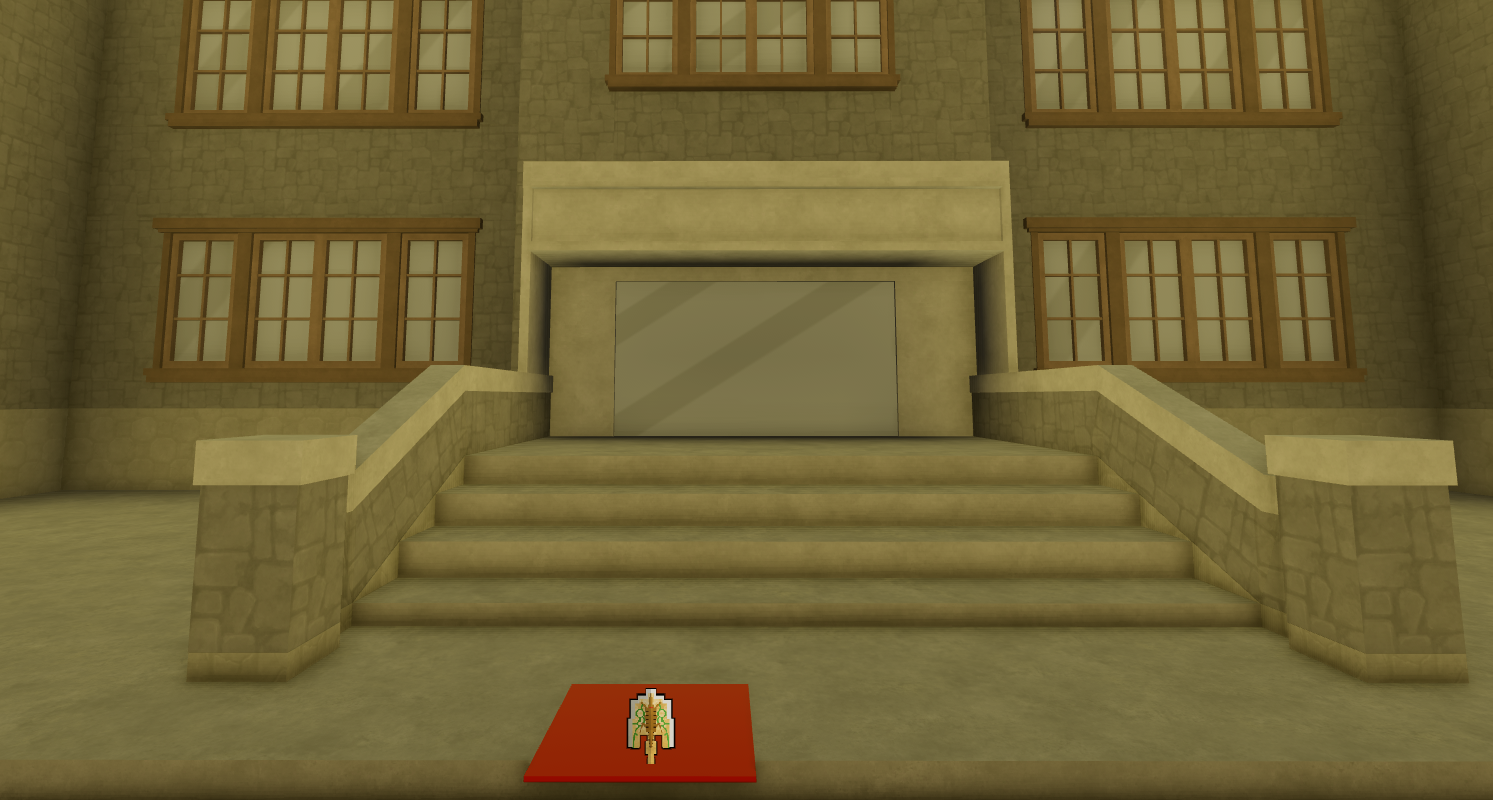 |
| Chapter 41 — Meet the group at IKO IKO | Meet the rest of the group at IKO IKO. |
| Chapter 42 — Defeat Ningbo and Laem Chabang | Defeat Ningbo and Laem Chabang in the 200 Balloons encounter. |
| Chapter 43 — Return to the yacht and speak to Howler | Talk to Howler and follow him inside. The chapter lists one Mysterious Arrow on completion. |
| Chapter 44 — Begin Howler’s Cash Test | Start Howler’s Cash Test (0/3). Follow Jodio’s cue upstairs, then let Howler check Dragona. The source shows this second instruction at 2/3. |
| Chapter 45 — Track Key West | Follow the gold traces to the upper deck and inspect the final gap.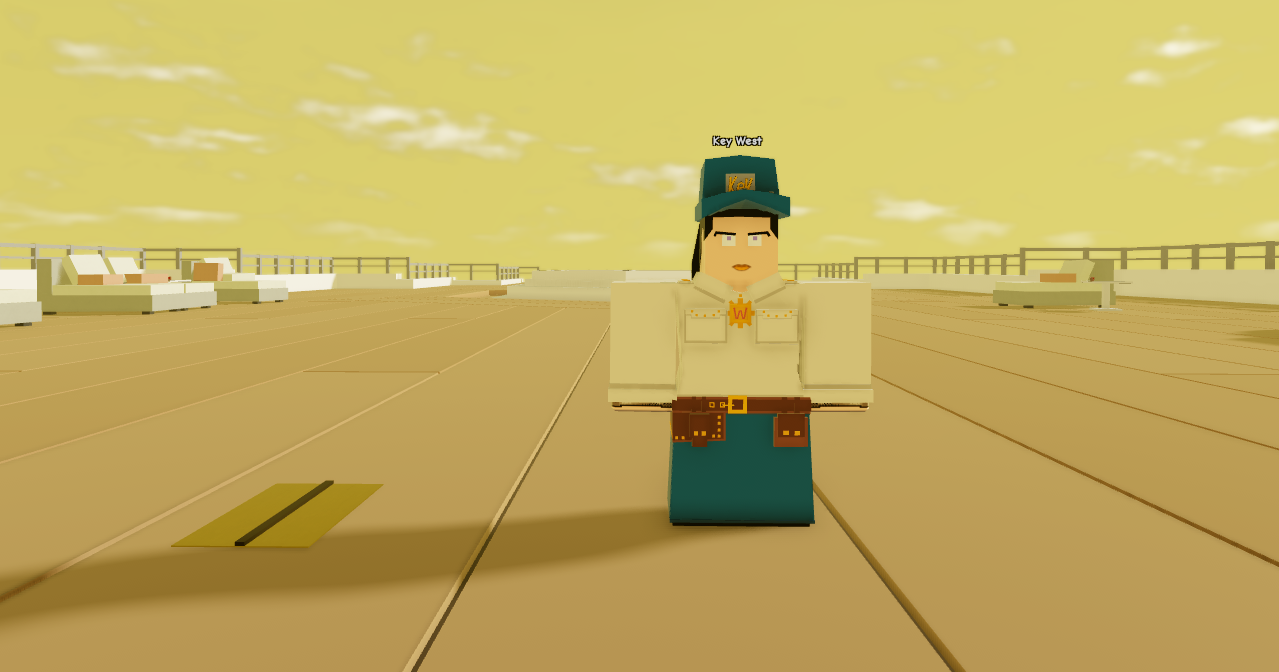 |
| Chapter 46 — Weaken Key West and knock her into the pool | Fight Key West until she is weakened. Get behind her and push her into the pool. A heavy hit is another way to knock her into the pool at that point.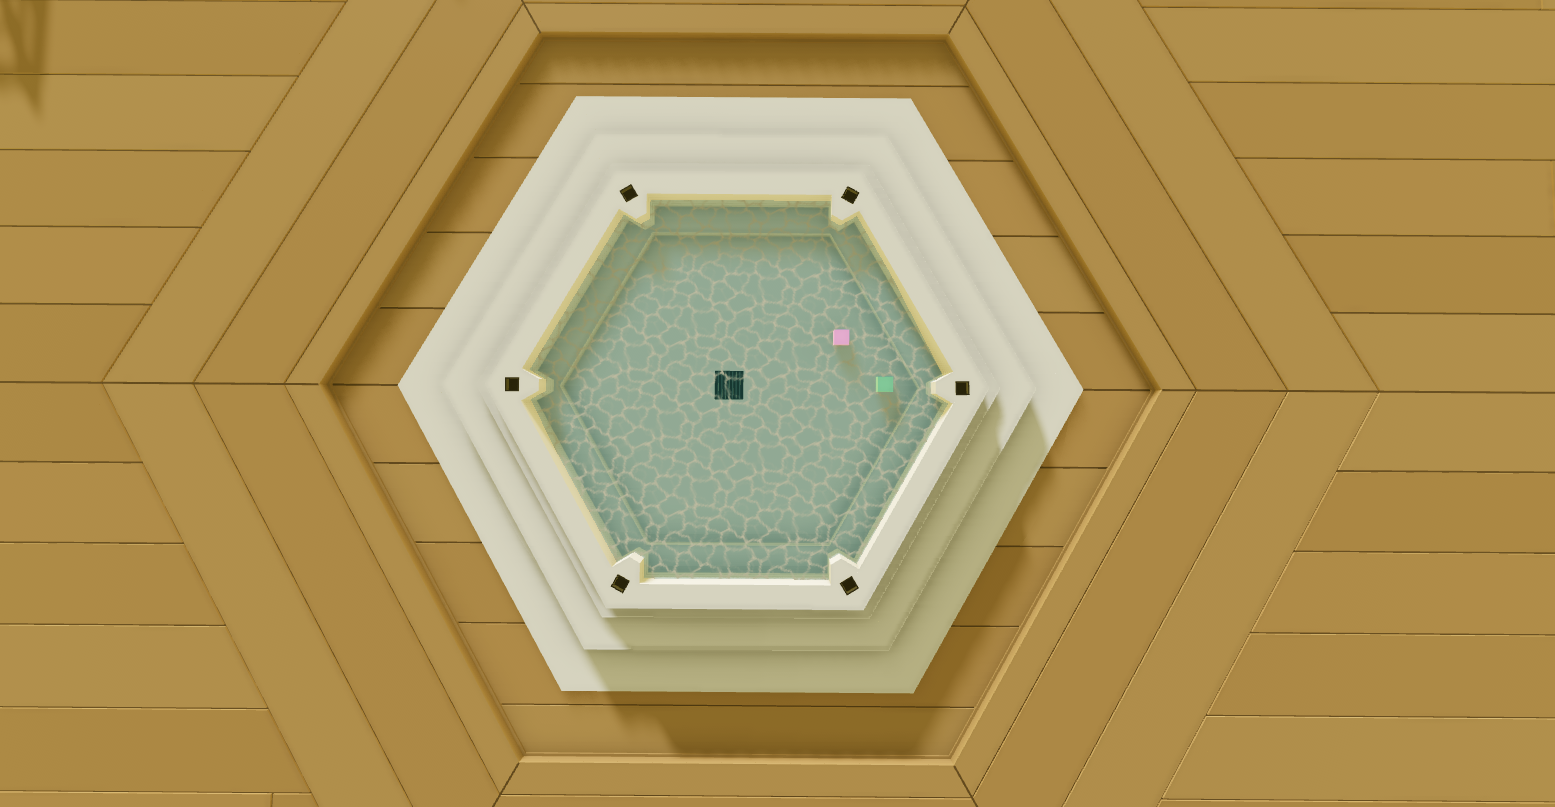 |
| Chapter 47 — Rejoin the crew on the upper deck | Return to the group on the upper deck after the Key West fight. |
| Chapter 48 — Witness the arrest and escape | Witness Howler’s arrest, pick up the signed papers, follow the crew to the raft (0/3 in the objective tracker), then board the escape raft and stay aboard. |


Sources
Chapter cards and screenshots checked November 18, 2026 against the official Stand Out Trello. Each chapter links to its developer card. The October 21 developer update covers the story additions and first storage slot.