Get Stand Out Zeppeli Hamon
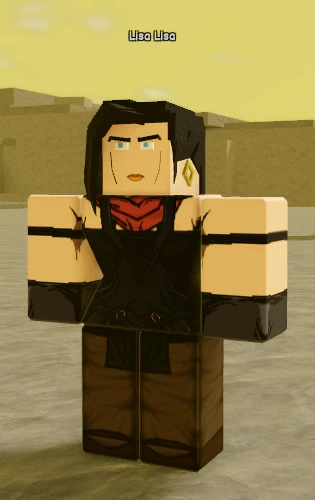
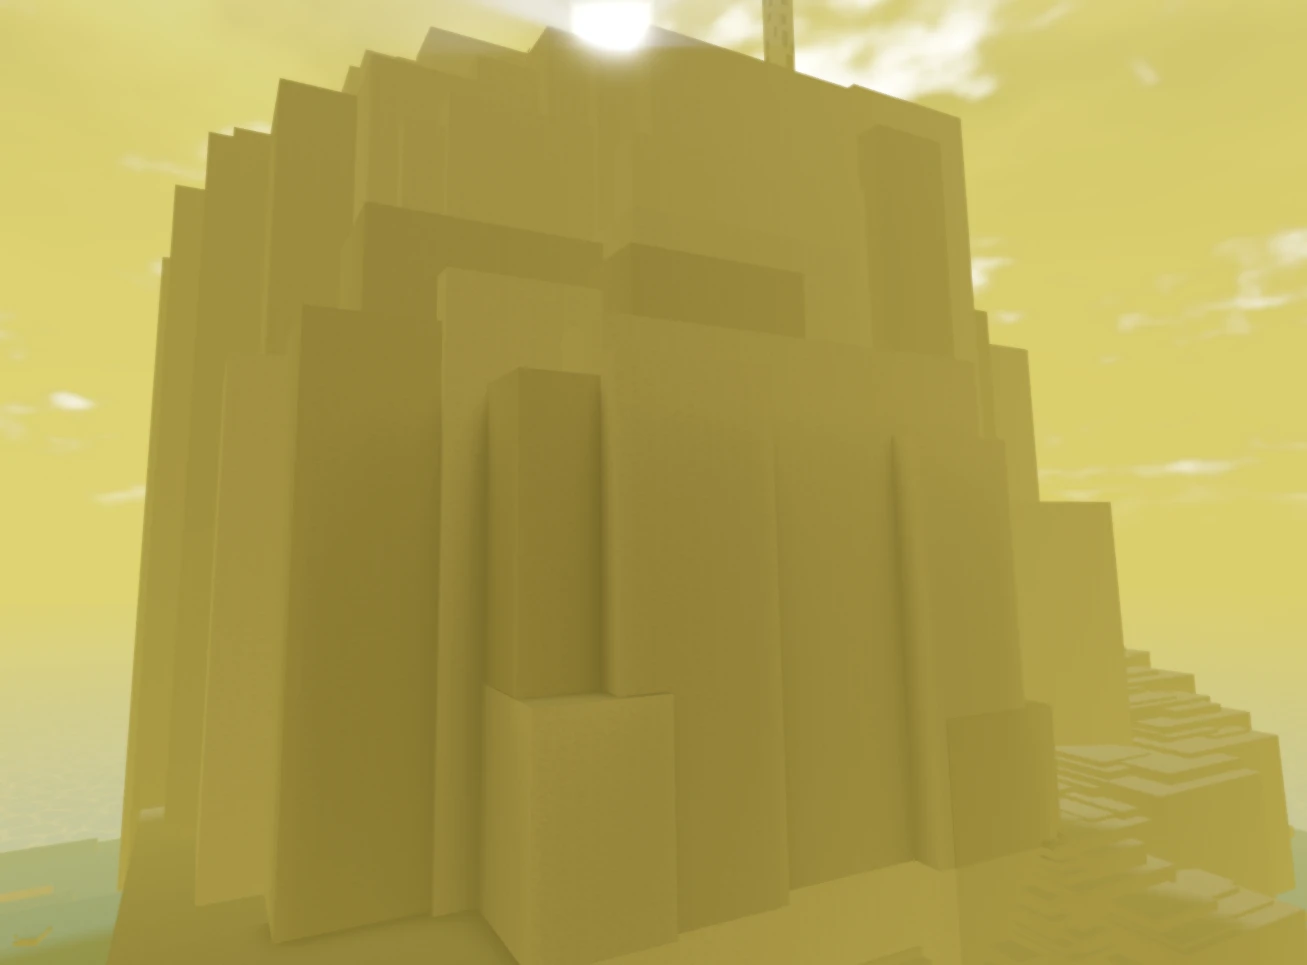
Find Lisa Lisa at the summit of the Volcano. Complete basic Hamon Training first: Training has a 10,000 Coins fee, separate from the Zeppeli Path objectives below. Follow the Training walkthrough for the mask, oil pillar and return steps, and use the Lisa Lisa location entry to identify the trainer.
After basic Training, complete these five Zeppeli Path goals:
- Take Lisa Lisa’s lesson once.
- Cross the tightrope once.
- Defeat one Vampire; a boss, NPC or player all count.
- Plant one seed.
- Harvest one grown plant.
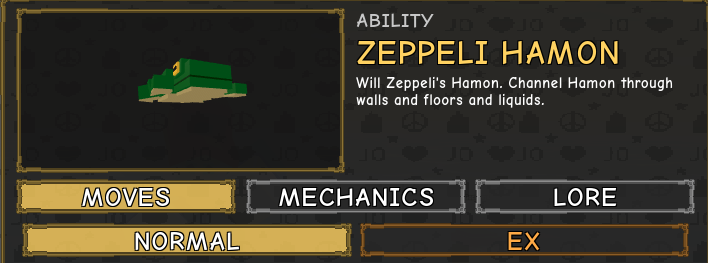
The completion reward is Zeppeli Hamon. Planting a seed and harvesting a grown plant are separate quest objectives. Lisa Lisa also handles path switching; see switching paths and Sub-Ability removal before changing an established build.
You can have only one active Hamon path quest at a time.
Keep a Stand or open the full kit
Sendo Wave Kick and Tornado Overdrive are explicitly available with a Stand. Browse Stand profiles for Stand abilities and build options.
Removing your Stand unlocks the full Sub-Ability kit. The removal instructions require Hamon or Vampire first. Emerald Roka has a removal chance that scales with its grade; check the named Roka effects for the named item effects. Stand removal and Sub-Ability removal are different decisions. Sapphire Roka targets the latter: it has a 50% chance to remove the Sub-Ability, grants 10% of your current EXP bar even on failure, and cannot be bottled as a splash potion.
Ordinary skills and cooldowns
Choose the action by distance, terrain and whether you are airborne. The table lists each move’s base cooldown.
| Move · base cooldown | Effect and conditions |
|---|---|
| Sendo Wave Kick 12s base cooldown | Available with a Stand. Dash forward to kick the first target, causing stun and small knockback. At close range there is no dash. At point-blank range, increased damage and knockback come with ragdoll. Ability increases lingering Ripple damage by up to 50% at 150 Ability. |
| Tornado Overdrive 15s base cooldown | Available with a Stand. From the ground, jump straight up. Press again in the air to start the spin toward your aim; steer it while gravity pulls you down. Drag enemies hit during the spin, then the final hit causes knockback and ragdoll. Ability increases lingering Ripple damage by up to 50% at 150 Ability. |
| Sendo Hamon Overdrive 16s base cooldown | Punch a wall or the ground; the surface and target position determine burst, tracking or straight travel. Water or juice puddles modify the ground variant and are consumed. Ability increases lingering Ripple damage by up to 50% at 150 Ability. |
| Breathe 35s base cooldown | Hold to fill your Hamon charge. With any charge, heal over time and infuse punches with Hamon. Getting hit stops breathing, but you keep the charge already built. |
Kick distance and Tornado reactivation
The normal kick closes forward, whereas a nearby target changes the action: close range removes the dash, and point-blank contact adds the stronger knockback and ragdoll outcome. Use the first two clips to compare those distinct starts rather than expecting every kick to move you the same way.
Tornado has two inputs to distinguish. The grounded activation supplies the upward jump; press again while airborne to begin the aimed spin. Steering changes your direction during that spin, but gravity still brings you down. Targets caught along the way are dragged before the finishing knockback and ragdoll.
Sendo: walls, ground and puddles
For Sendo Hamon Overdrive, first locate the enemy relative to the wall. A target across it receives a different result from one beside you. Without a wall, check the ground for a water or juice puddle before choosing your line.
| Surface or interaction | Effect and conditions |
|---|---|
| Opposite wall side | The Hamon burst comes out the other side of the wall. Enemies hit take triple damage and are ragdolled. |
| Same-side wall target | The ripple travels down the wall into the ground and automatically tracks the nearest target. |
| Dry ground / no wall | Punch the ground to send the ripple straight forward; it carries enemies with it. |
| Water or juice puddle | The ground variant tracks the nearest enemy when you punch a water or juice puddle. That puddle is consumed in the process. |
| Frog Hunter interaction | Frogs are marked through walls. Hit a frog with Sendo Hamon Overdrive to produce a stronger ripple. |
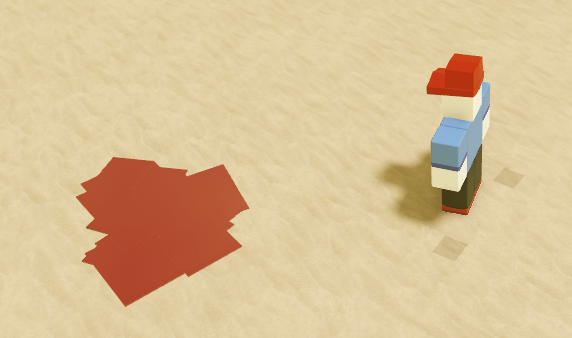
A juice puddle left by Ripple Cutter gives the ground variant a tracking surface; spending that puddle removes it.
Breath, healing and traversal
Breathe’s 35-second cooldown and the lifetime of a full charge describe different things. Holding builds charge; an incoming hit interrupts that breathing action without deleting what you already accumulated. Separate the recovery benefit from the fixed Vampire damage modifier when reading the numbers.
| Benefit or traversal | Effect and conditions |
|---|---|
| Full charge duration | A full charge lasts 28 seconds at 1 Ability and 35 seconds at 150 Ability. These are charge durations, separate from the 35s Breathe cooldown. |
| Healing | While you have any Hamon charge, you heal over time and your punches carry Hamon. Ability strengthens healing by up to 50%. |
| Fixed Vampire bonus | Attacks deal a fixed 30% more damage to Vampires, including Stand attacks and abilities. Ability does not increase this percentage. |
| Wall walking | Sticking Ripple lets you walk up walls with strictly more than half of your Hamon bar. Build above half before taking the wall route. |
| Water walking | Sticking Ripple lets you walk across the water surface. Use crouch to dive beneath it. |
| Stand infusion | Zeppeli and Caesar Hamon infuse Hamon into Stands without using Breathe. |
Water travel and wall climbing are separate parts of Sticking Ripple. Choose crouch when you want to go underwater rather than remaining on the surface. For wall travel, watch the charge bar as well as the wall itself: the requirement is above half.
EX costs and target conditions
EX choices serve different purposes: Ripple Cutter creates projectiles and puddles, Life Magnetism supplies airborne travel, Forced Hamon Breathing changes with its recipient and held input, and Ripple Detector marks characters. Match the target and activation condition before committing the listed bars.
| EX move · bars · base cooldown | Effect and conditions |
|---|---|
| Ripple Cutter 2 EX bars · 20s base cooldown | Release six ripple blades. With shift lock off they fly straight ahead; with shift lock on they fly at your cursor. Each hit applies bleed for 4 seconds and Ripple. Blades hitting the ground or reaching the end of their range leave juice puddles for Sendo Hamon Overdrive. Ability strengthens the lingering Ripple damage. |
| Life Magnetism Overdrive 1 EX bar · 25s base cooldown | You must activate in the air. Leaves form a glider that carries you forward for up to 8 seconds. Taking damage breaks the glider. |
| Forced Hamon Breathing 3 EX bars · 35s base cooldown | Normal activation heals an ally and makes them breathe Hamon for 20 seconds. A Vampire takes heavy Hamon damage and a longer stun. Hold while your health is strictly below 25% to trigger Deep Pass Overdrive: the recipient instantly regains half their health, breathes Hamon for 60 seconds, gaining Hamonic buffs and dealing 25% more damage. You lose access to Hamon moves, age to the maximum limit, and your health drains until death. |
| Ripple Detector 1 EX bar · 25s base cooldown | Marks all nearby characters for 8 seconds, visible through walls. Detection range grows from 140 to 210 studs with Ability. |
Deep Pass transfers the benefit to the person hit and sacrifices the user’s remaining Hamon and life. It is the held branch of Forced Hamon Breathing, so distinguish that outcome from the normal ally heal before holding the input. Detector’s character markers also serve a different purpose from Frog Hunter’s frog markers.
Sources
Sources checked November 17, 2026.
- Zeppeli Hamon: skills, terrain, traversal and EX
- Zeppeli Path: prerequisite and five objectives
- Lisa Lisa: summit location, Training fee and path switching
- Hamon Training: basic objectives
- Volcano: landmark
- Stand removal: full moveset and prerequisite
- Emerald Roka: grade-scaled Stand removal
- Sapphire Roka: Sub-Ability removal
- Ripple Training Mask: equipment and seller
11/16/2026 Bug fixes — patch checked November 17, 2026.